
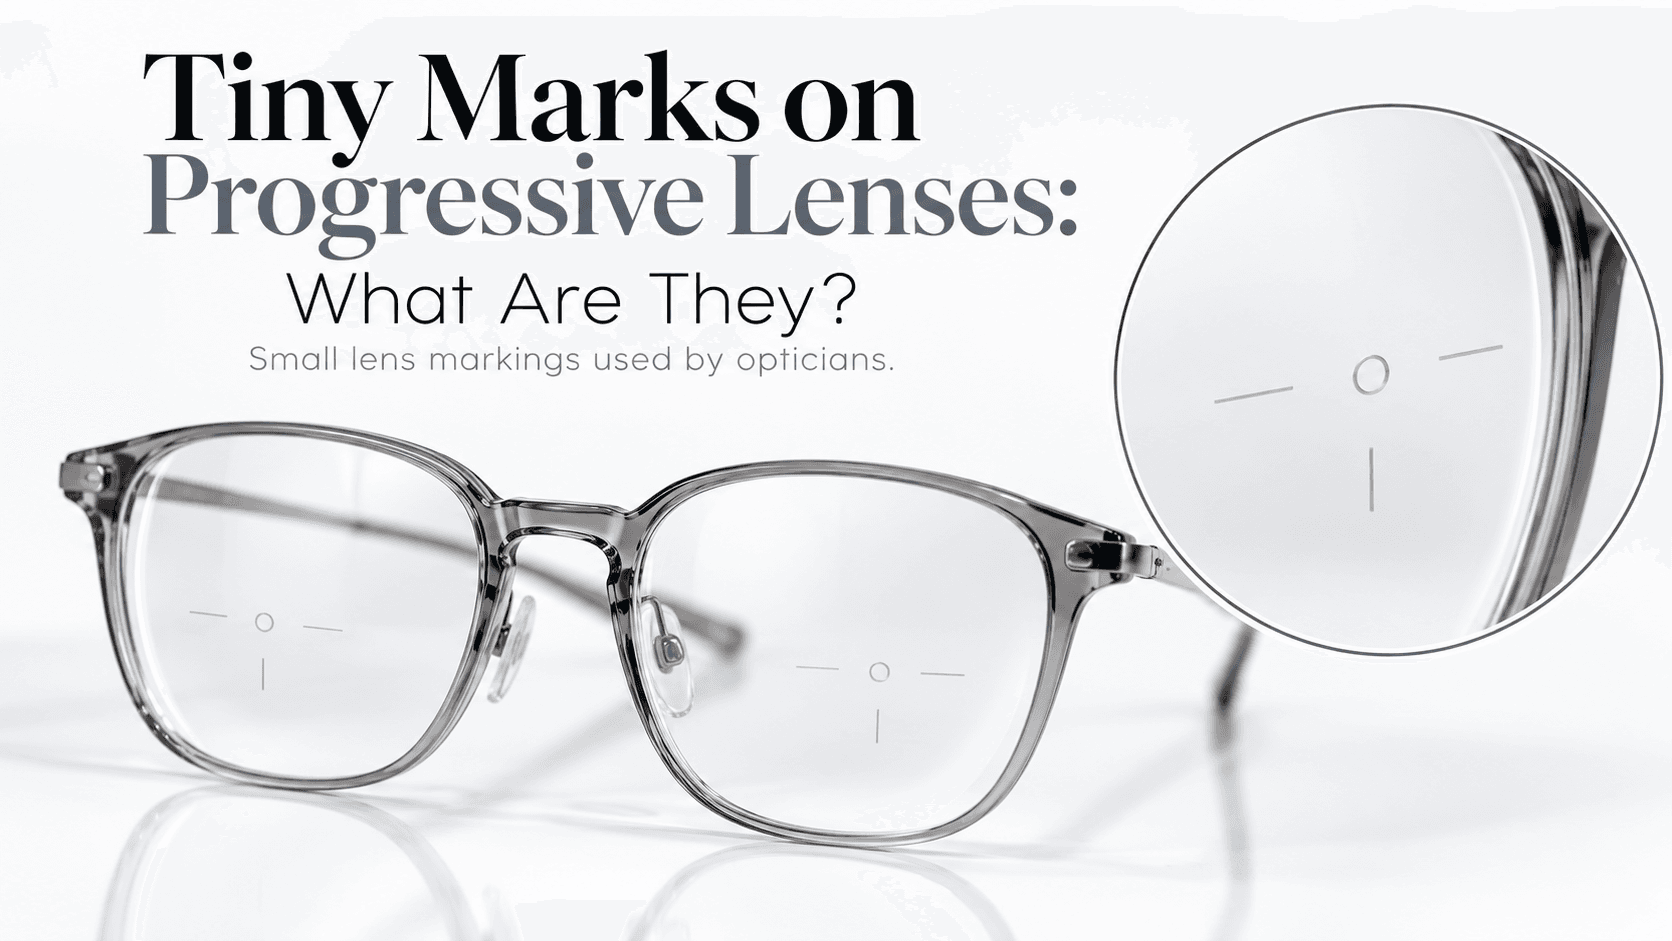
Those tiny dots, circles, and engravings on your progressive lenses are not scratches or manufacturing defects. They are precision reference markings — called progressive lens markings or engraving marks — that opticians use to fit, verify, and align your lenses correctly inside the frame. Without them, getting the right prescription zone in front of your pupil would be guesswork.
Why Do Progressive Lenses Have Markings?
Progressive lenses are complex optical surfaces. Unlike single-vision lenses that have one power throughout, a progressive lens blends three distinct zones — distance vision at the top, intermediate in the middle, and near vision at the bottom — into one seamless lens. Placing these zones precisely in front of your eyes requires exact reference points. The markings act as a coordinate system that opticians and labs rely on during cutting, fitting, and quality checks.
What Are the Different Types of Markings?
Temporary Ink Markings
When you first receive progressive glasses, you will notice small printed ink circles or dots on the lens surface. These are temporary. The central circle marks your fitting cross — the point that should align with the centre of your pupil when you look straight ahead. Two smaller circles on either side mark the near-vision inset and help the optician confirm the lens is oriented correctly. These ink marks are meant to be wiped off after fitting is confirmed; a clean microfibre cloth removes them easily.
Permanent Micro-Engravings
Underneath the ink, every progressive lens carries permanent micro-engravings etched into the lens material itself. These are invisible to the naked eye in normal light but become visible when you hold the lens at an angle under a bright light source. They typically include:
The brand or manufacturer logo — a tiny symbol or abbreviated name that identifies who made the lens design.
The addition power (ADD value) — a small number such as +1.75 or +2.25, indicating the reading power added to your distance prescription.
A nasal indicator — a small mark or arrow showing which side of the lens faces your nose, crucial because left and right progressive lenses are not interchangeable.
These permanent engravings allow an optician to re-verify your lenses at any future visit — even after the ink has been removed — and confirm the lens design, power, and orientation are still correct.
Should You Try to Remove the Permanent Engravings?
No. The micro-engravings are etched into the lens and cannot be polished or wiped away without damaging the optical surface. Attempting to remove them will cause irreversible scratches. If you can see them in everyday wear, try adjusting the tilt of your frame — proper fitting by an optician usually makes them invisible during normal use.
What Happens If the Markings Are Misaligned During Fitting?
Misaligned progressive lenses are one of the most common reasons people experience headaches, dizziness, or blurred vision when they first switch to progressives. If the fitting cross does not sit in front of your pupil, the distance and reading zones shift, forcing your eyes to work harder. Always have your progressive lenses fitted by a trained optician and ask them to use the ink markings to verify alignment before the ink is removed.
Quick Summary: What Each Mark Means
Central ink circle — fitting cross, aligns with your pupil centre
Side ink circles — near-vision zone references and orientation checks
Micro-engraved logo — identifies the lens brand or design series
Micro-engraved ADD number — confirms your reading addition power
Nasal indicator engraving — shows correct left-right orientation
